English
Shapes & Drawing
This tutorial covers shape elements, freehand drawing, non-objective compositions, and modular grids.
Inserting shapes
- Click the Shapes dropdown in the toolbar.
- Choose from: Rectangle, Rounded Rectangle, Circle, Triangle, Diamond, Arrow, Star, or Line.
- The shape appears on the slide. Drag to reposition, drag handles to resize.
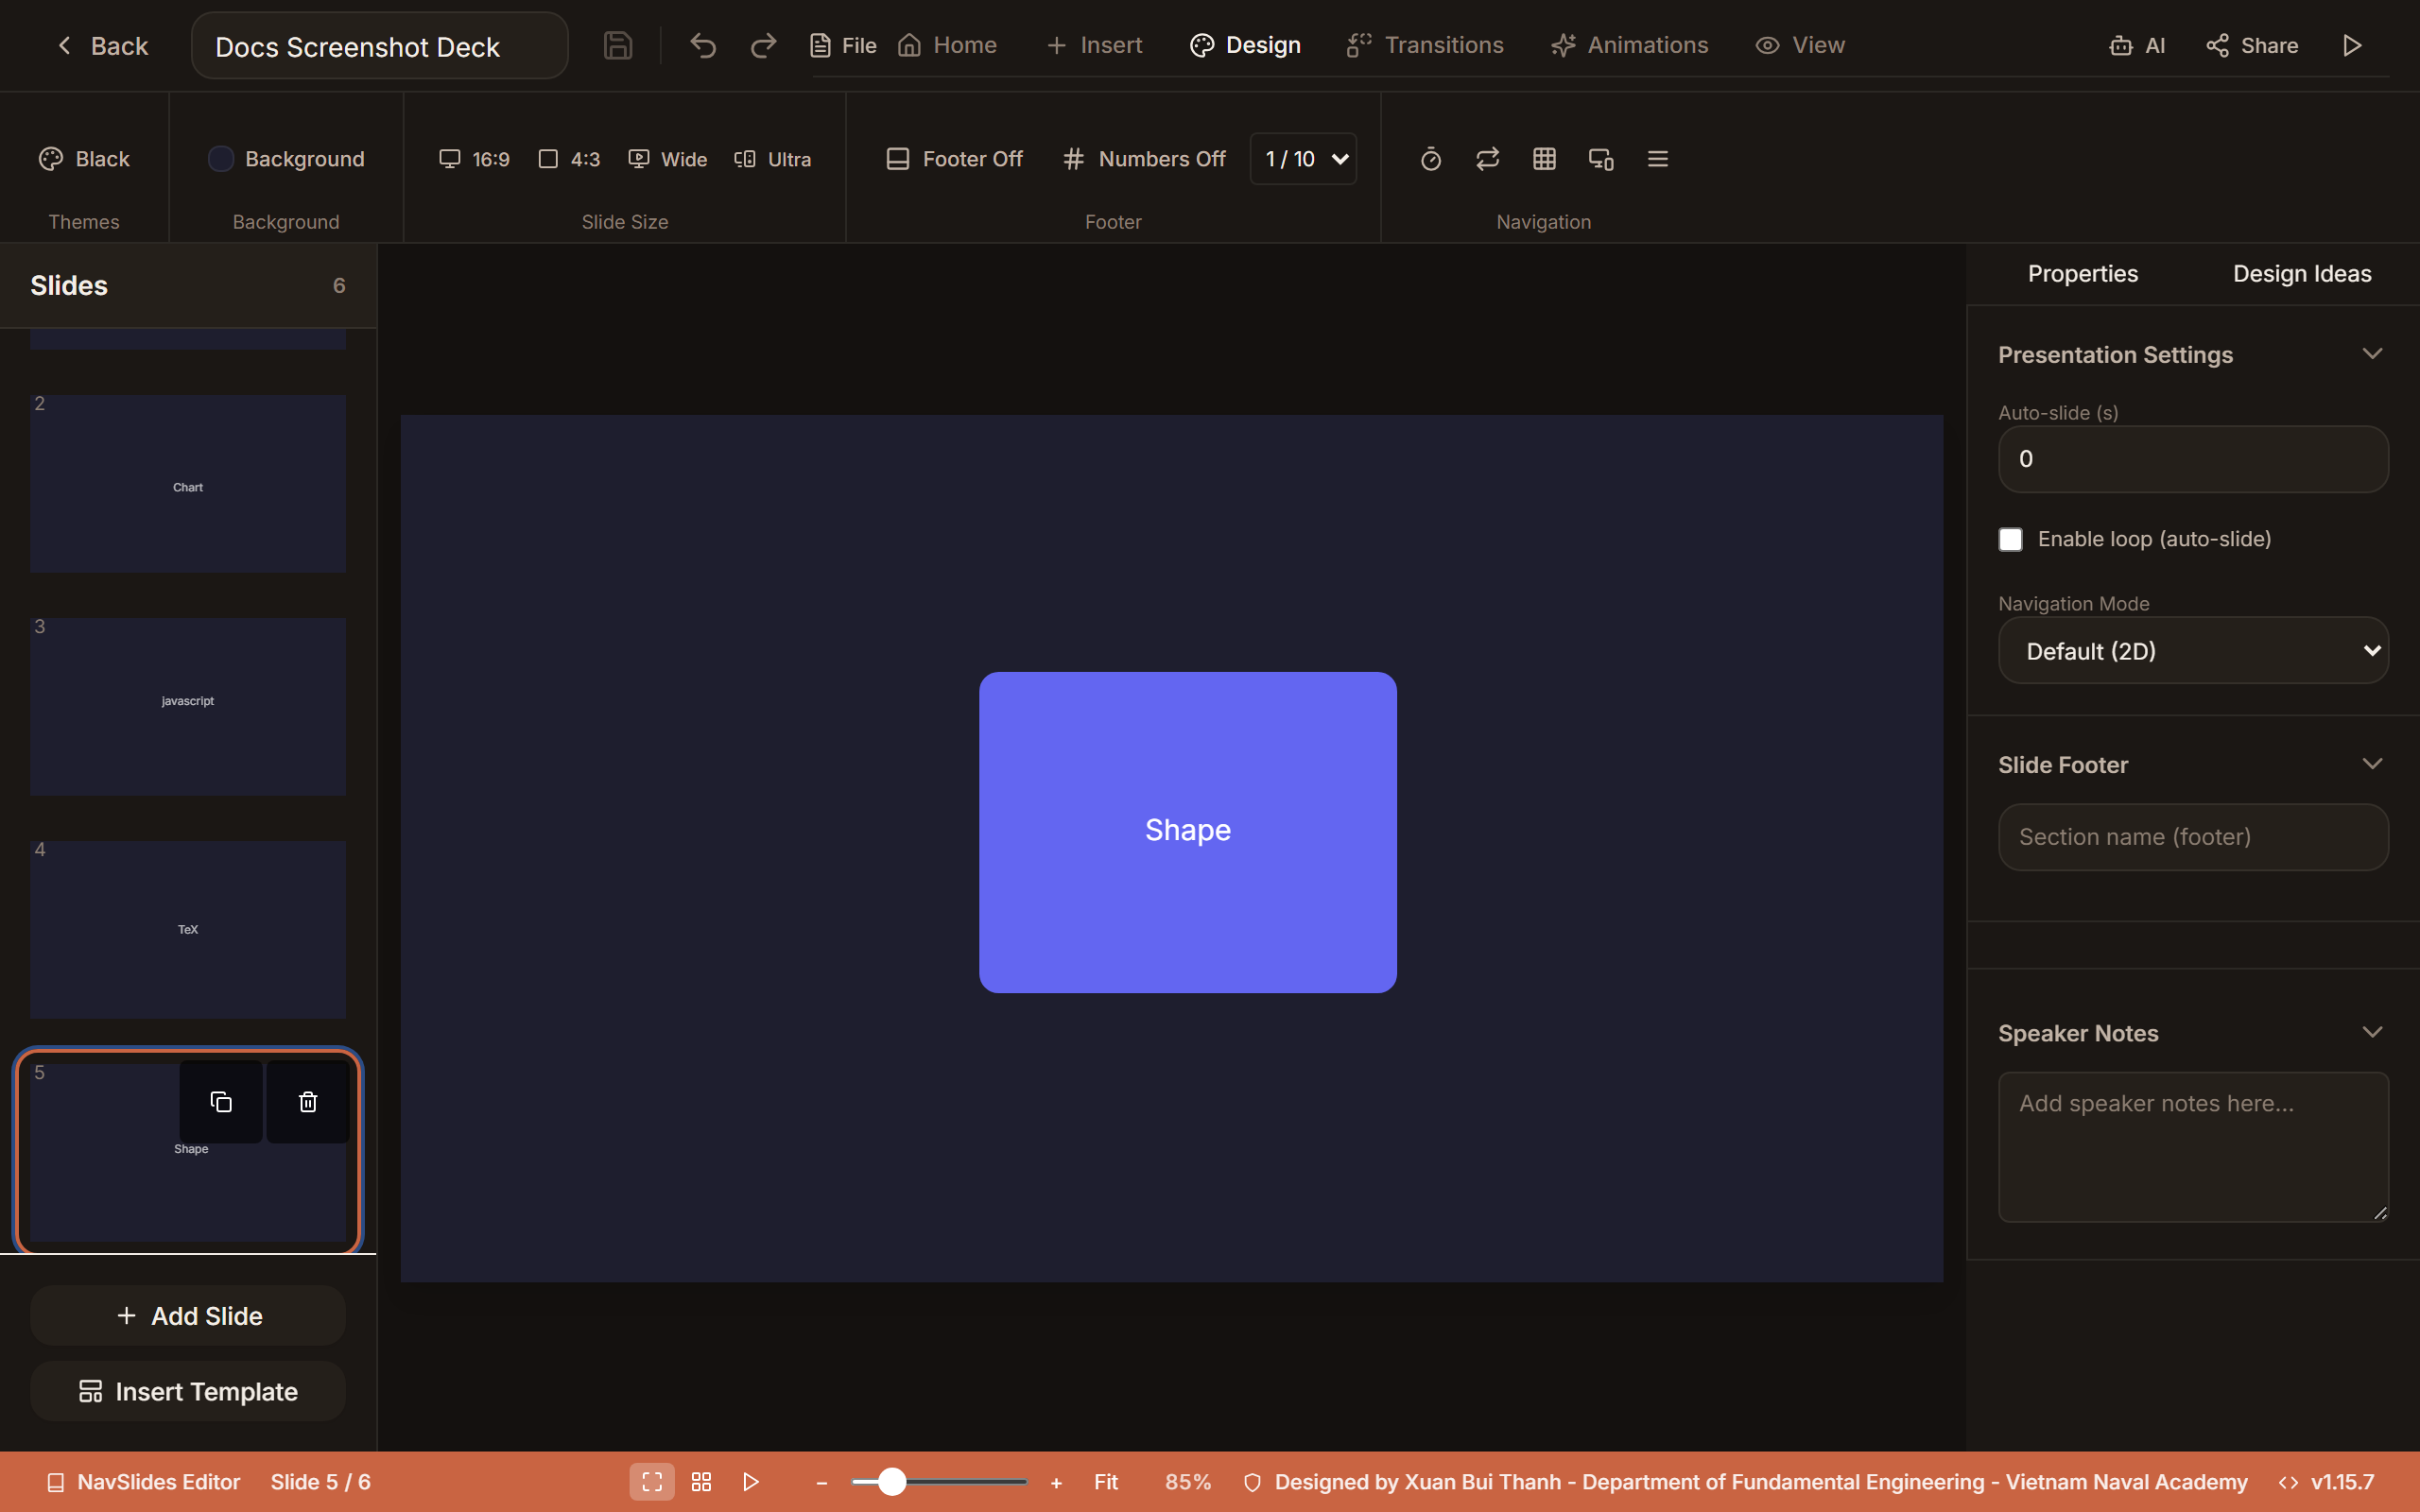
Shape properties
Select a shape to configure in the right panel:
- Fill — color picker, or "none" for transparent
- Stroke — border color and width
- Opacity — 0 (transparent) to 1 (fully opaque)
- Text — add a label inside the shape
- Round Corners — border radius for rectangles
Example output
Freehand drawing
- Click the Pencil icon in the toolbar to enter draw mode.
- Choose a color and stroke width from the drawing toolbar.
- Draw directly on the slide canvas.
- Click the pencil icon again (or press
Escape) to exit draw mode.
Drawn strokes are SVG elements that can be selected, moved, and deleted like any other element.
Non-objective compositions
Inspired by Bauhaus and De Stijl, these insert randomized geometric compositions.
- Click Shapes > Non-objective in the toolbar.
- A composition of overlapping geometric forms appears.
- Each shape can be individually selected and edited.
Modular grid
Creates a grid of identical shapes as a structural framework.
- Click Shapes > Modular Grid.
- Configure the number of columns, rows, gap size, and shape type.
- Click Apply — a grid of shapes fills the slide.
- Assign content to individual cells as needed.