English
Your First Presentation
This tutorial walks you through creating a complete presentation from scratch — from blank deck to exported HTML file.
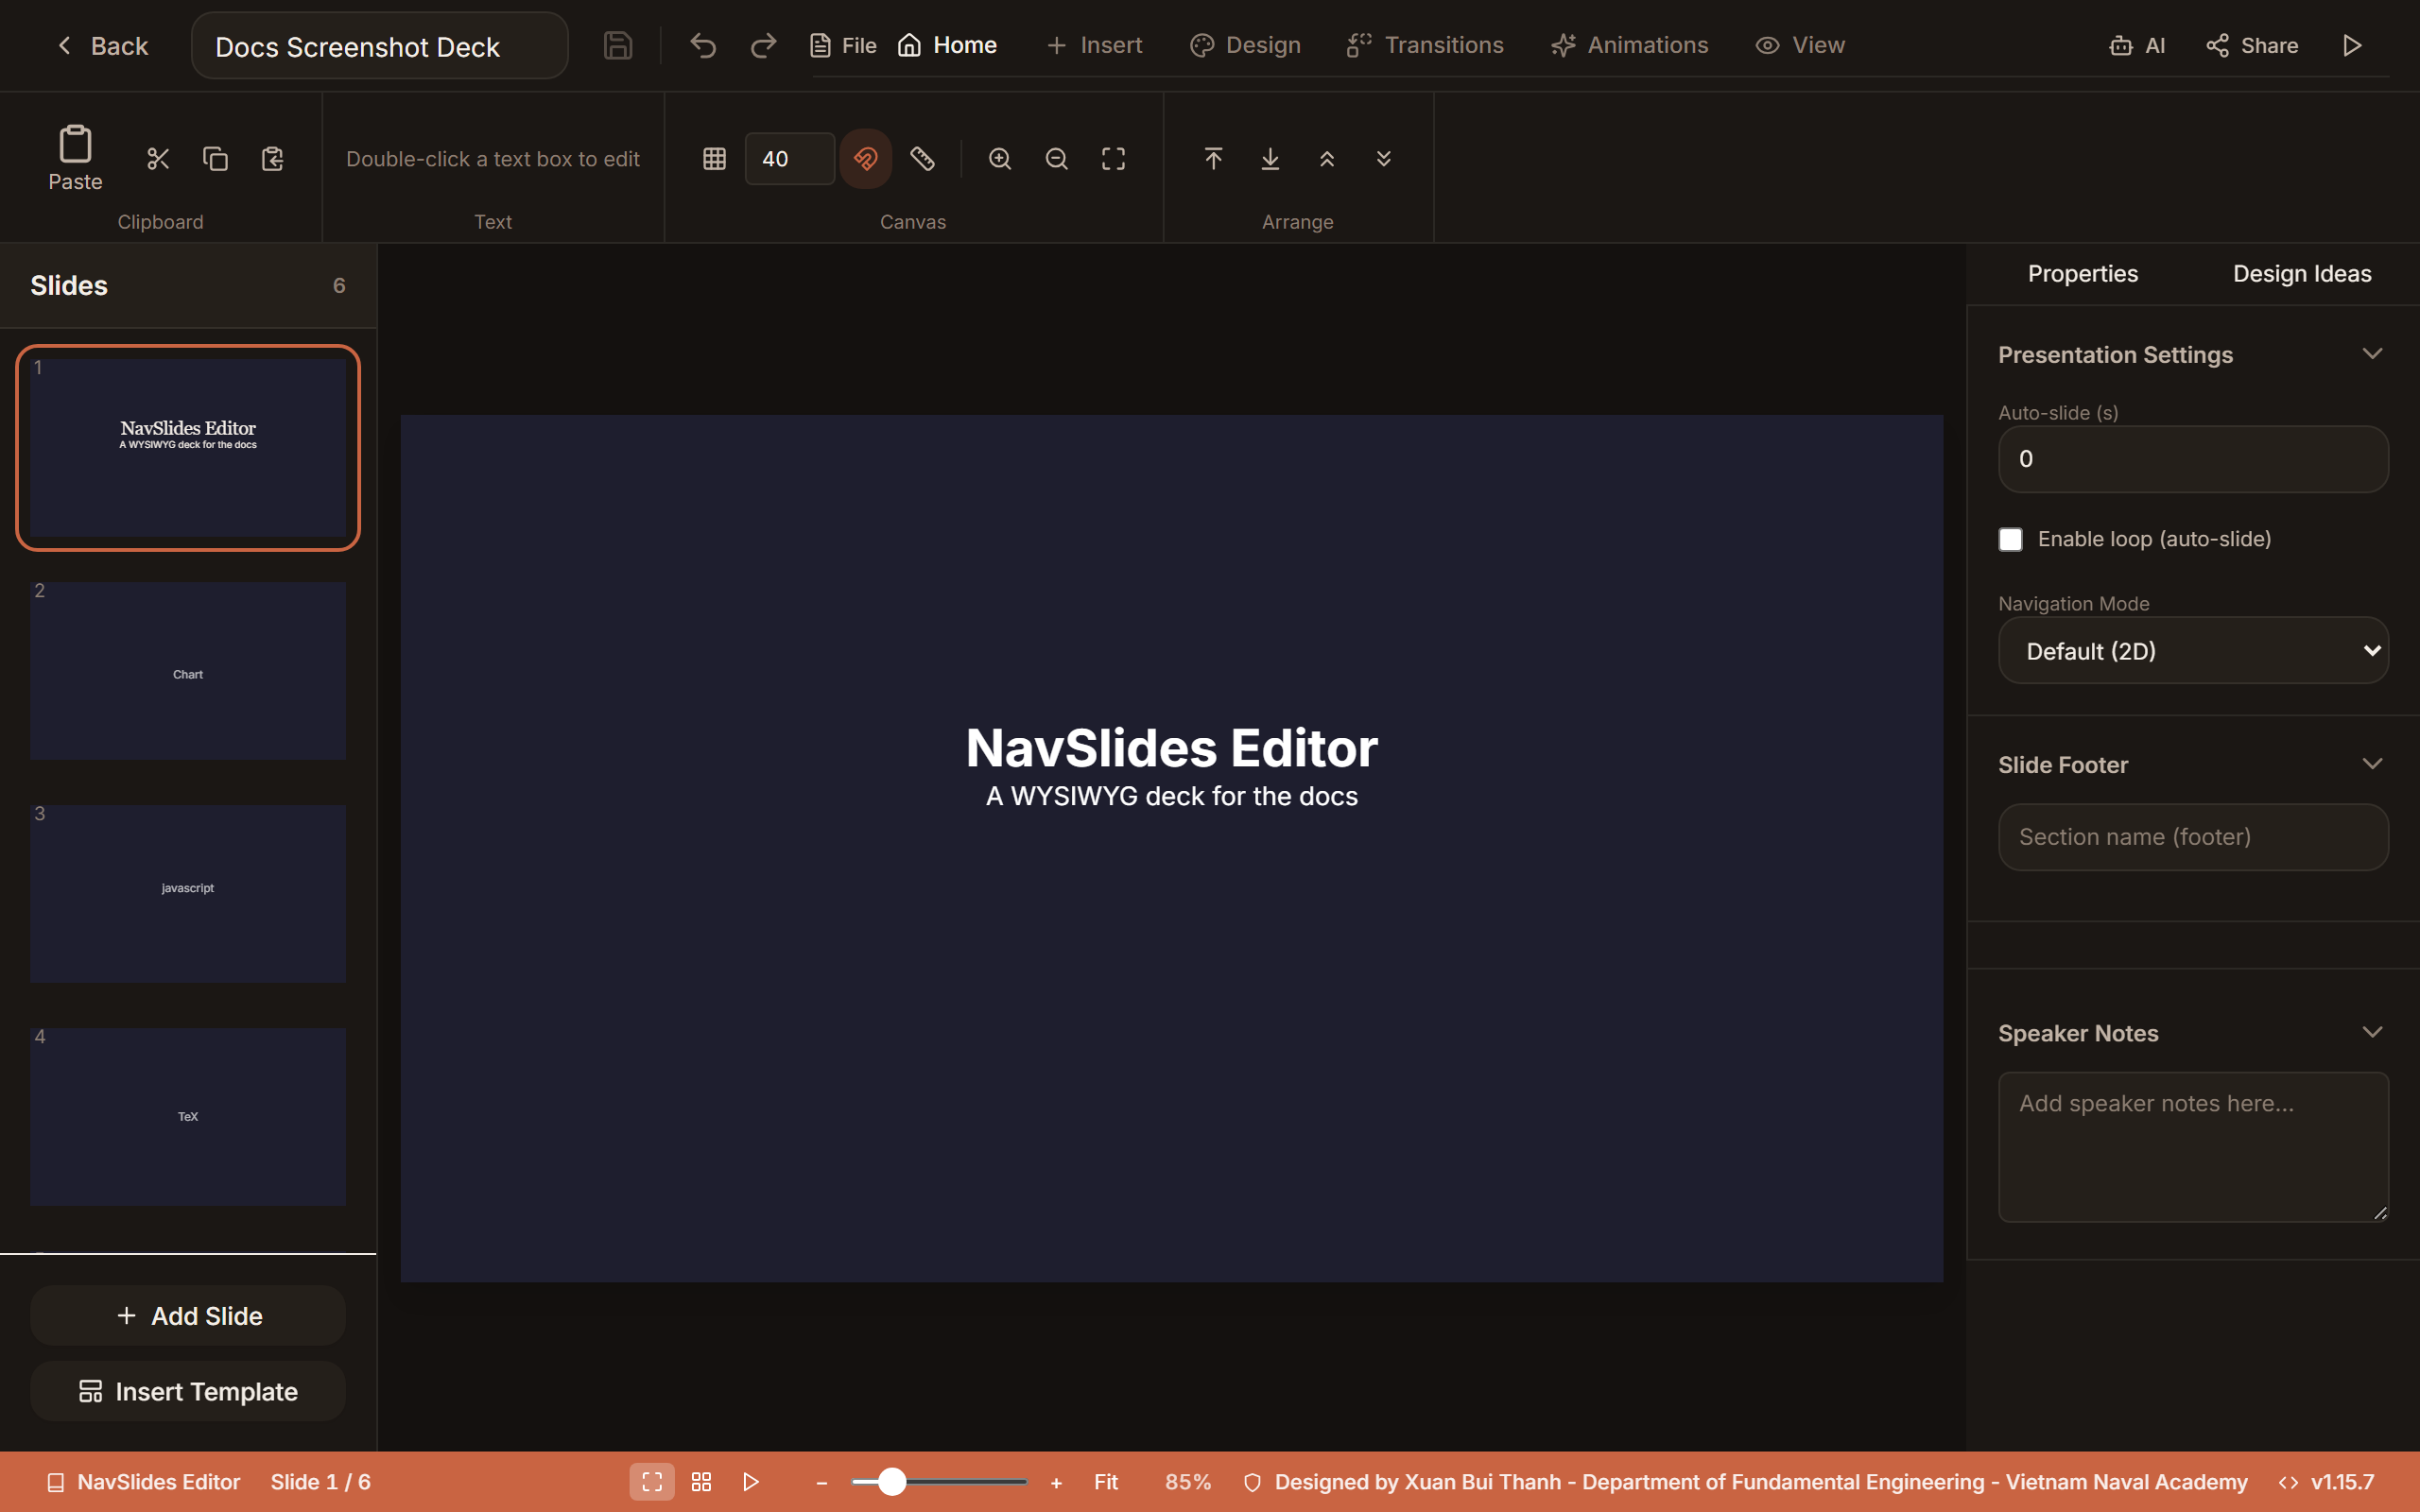
1. Creating a new presentation
- Open NavSlides Editor in your browser (default:
http://localhost:3002). - On the home screen, click New Presentation.
- A dialog appears asking you to name your presentation. Enter a name (e.g., "My First Deck") and click Create.
2. Choosing a template
After clicking Create, you'll be offered a choice of starting templates:
- Blank — a single empty slide with no pre-placed elements
- Title Slide — a slide with a centered title and subtitle placeholder
- Academic — title slide + outline slide with footer sequence
- Minimal — clean layout, single font, no decoration
For this tutorial, choose Title Slide.
3. Editing the title slide
You'll see a slide with two text placeholders: a large title and a smaller subtitle.
- Double-click the title ("Click to add title") to enter edit mode.
- Type your presentation title — for example, Introduction to Reveal.js.
- Press
Escapeto finish editing the title. - Double-click the subtitle and type your name or a short description.
- Press
Escapeagain.
To change the font size:
- Double-click the title to re-enter edit mode.
- Select all the text (
Ctrl+A). - Use the font size box in the toolbar and change it to your preferred size.
- Press
Escape.
4. Adding a new slide
- In the slide panel on the left, click the + button at the bottom, or right-click an existing slide and choose Add Slide After.
- A new blank slide appears.
- Click the new slide thumbnail to navigate to it.
5. Adding a text box and an image
Add a text box:
- Right-click on the blank slide canvas and choose Insert → Text Box.
- A text box appears. Double-click it and type some content.
- Use the toolbar to format your text (bold, color, size, etc.).
Add an image:
- Right-click on the canvas and choose Insert → Image.
- A file picker opens. Choose an image from your computer.
- The image appears on the slide. Drag it to position it, and drag the corners to resize.
6. Applying a theme
- Open the Design tab in the ribbon.
- Click Themes to open the ThemeGallery, which shows 39 token-based design presets across 7 categories plus the 11 built-in reveal.js base themes.
- Click any preset or base theme to apply it.
- The background and typography update across all slides immediately. Use Apply to all to clear per-slide overrides.
7. Adding a slide transition
- Click on a slide in the left panel to select it.
- Open the Slide Settings panel (right-click → Slide Properties, or the gear icon in the slide panel).
- Under Transition, choose Fade from the dropdown.
- You can also set the transition speed: Slow, Normal, or Fast.
8. Presenting
- Click the Present button (play icon) in the top toolbar, or press
F5. - The presentation enters full-screen mode via reveal.js.
- Use the arrow keys to advance slides.
- Press S to open the speaker notes window in a separate browser tab.
- Press Escape to exit full-screen.
9. Exporting as HTML
- Click File → Export → HTML.
- Save the
.htmlfile to your computer. - Open the file in any browser — your presentation is self-contained and shareable.
TIP
If you plan to present without an internet connection (e.g., at a conference), choose File → Export → Offline HTML instead to inline all assets.
Congratulations — you've built and exported your first presentation!
Next steps:
- Academic Slides tutorial — footers, LaTeX, two-column layouts
- Using LaTeX & Math — deep dive on equations and TikZ diagrams